Introduction to Process Mapping
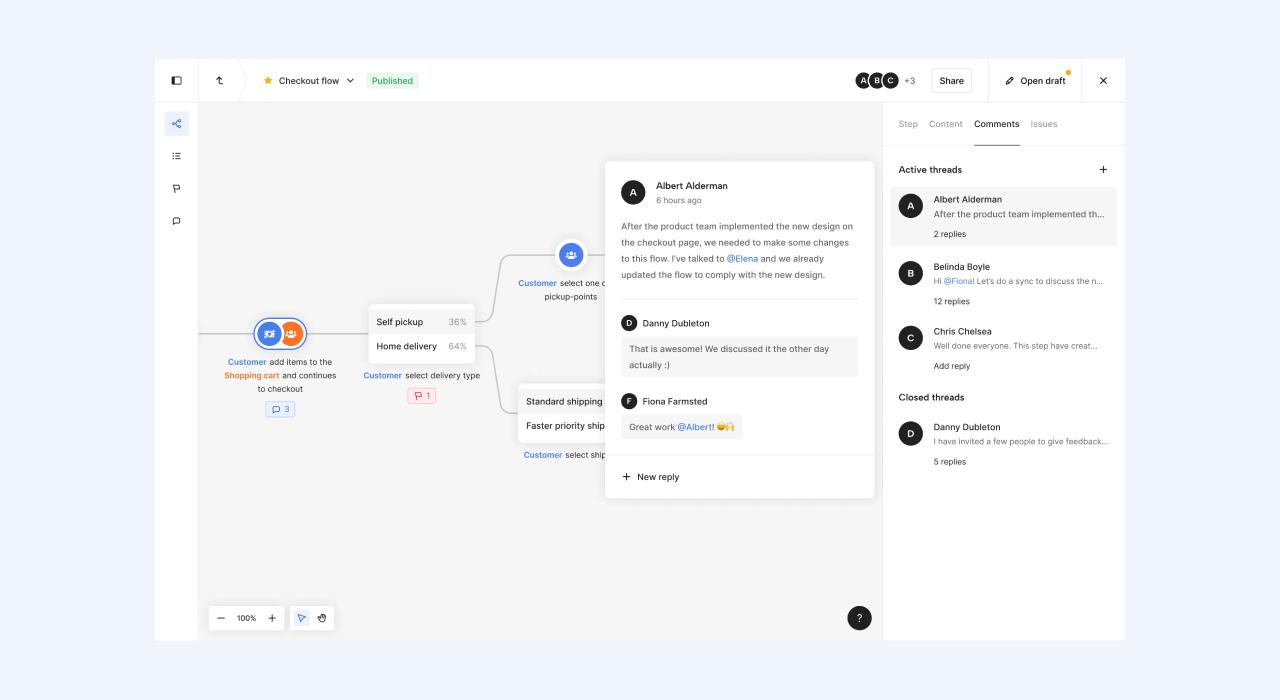
Process mapping is a vital tool in every organization that can significantly improve the way you understand and carry out tasks within your company. By visually outlining your workflows, you can see not only how things are currently done, but also identify opportunities for making your processes more efficient and effective.
And with a process mapping tool like ShiftX, this becomes not just a task but an interactive experience that can involve your entire team and even your stakeholders. Let's walk you through the steps to create a process map that can transform your workflow.
Step 1 - Define clear goals for your process
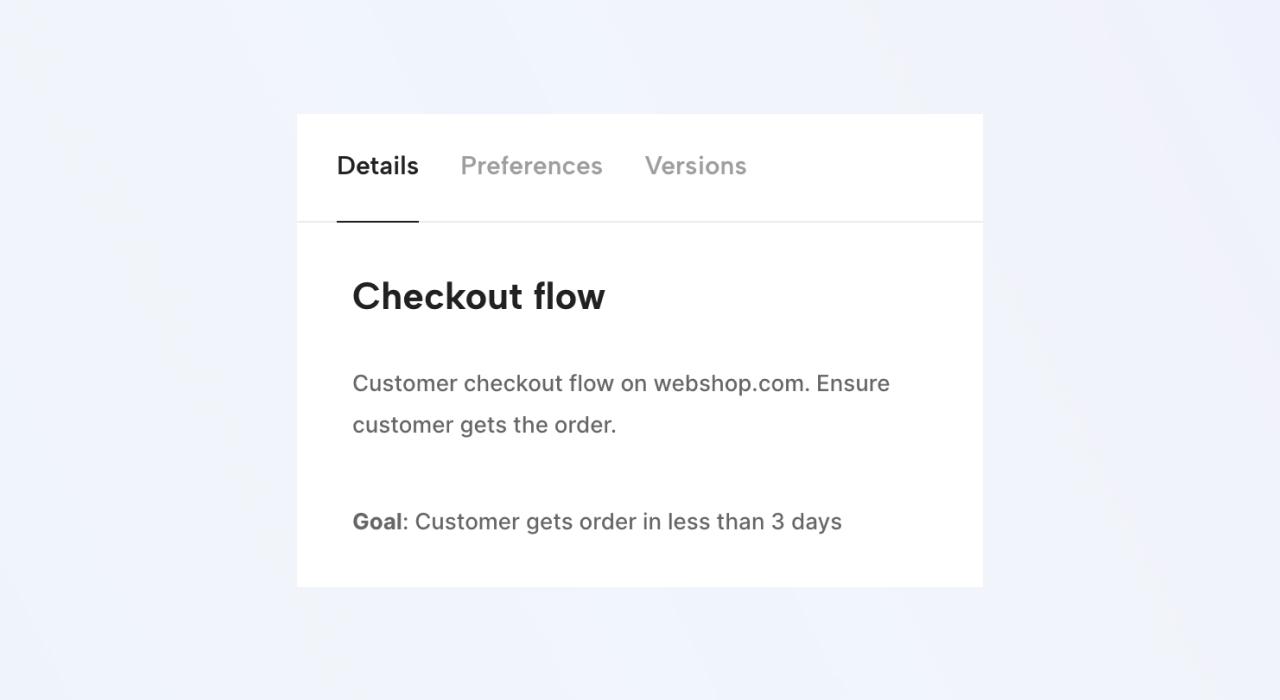
The first step in process mapping is to establish clear goals. What do you want to achieve with your process map? You may want to comply with new regulations, identify potential risks, or improve collaboration between different departments.
Knowing your objectives from the start helps you use process mapping tools more effectively, ensuring each part of your process map has a clear purpose.
Step 2 - Identify roles within your process
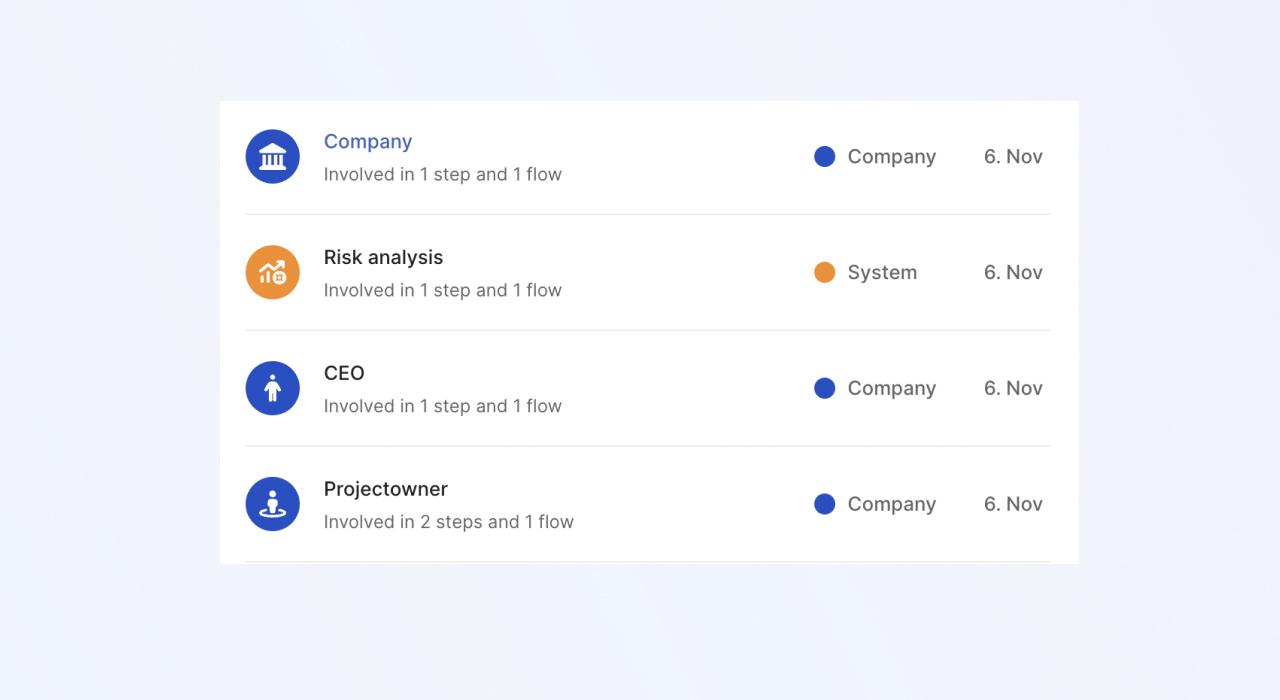
In any process, there are individuals or teams who take action. These are your 'actors'. When mapping your process, it's crucial to identify these roles accurately.
This is not just about listing all roles but understanding their impact and contributions to the workflow. It helps in recognizing areas where roles may overlap or where additional resources might be beneficial.
This stage is crucial for developing an effective process map. It allows you to see the bigger picture of how each role interact, leading to a more efficient and well-structured process.
Step 3 - Outline the process steps
Now, it's time to break down the process into steps. This part is more than just listing what needs to be done, it's about understanding the sequence and how each step leads to the next.
Think of it as drawing a map that someone else can follow without getting lost.
Your goal is to make a process map that's easy to use and helps make the workflow smoother and more efficient. When you're done, you should have a clear guide that explains the whole process in a straightforward way.

Step 4 - Assigning roles to each step
The next step in making your process map is to assign roles to each step. This means making it clear which role is responsible for what in each part of the process.
It's about organizing who does what, so there's no confusion later on. Adding roles to each step has big benefits:
- Clear responsibility: Everyone knows who's in charge of each task. This stops tasks from being missed or done twice.
- Better engagement: When people know their specific roles, they're more likely to take ownership and do their best.
- Spotting gaps: It's easier to see if a step is missing someone or if one role is doing too much.
Integrating roles into each step of your process map is crucial for creating a well-structured and transparent process. This helps keep everything running smoothly and makes sure everyone knows their part.
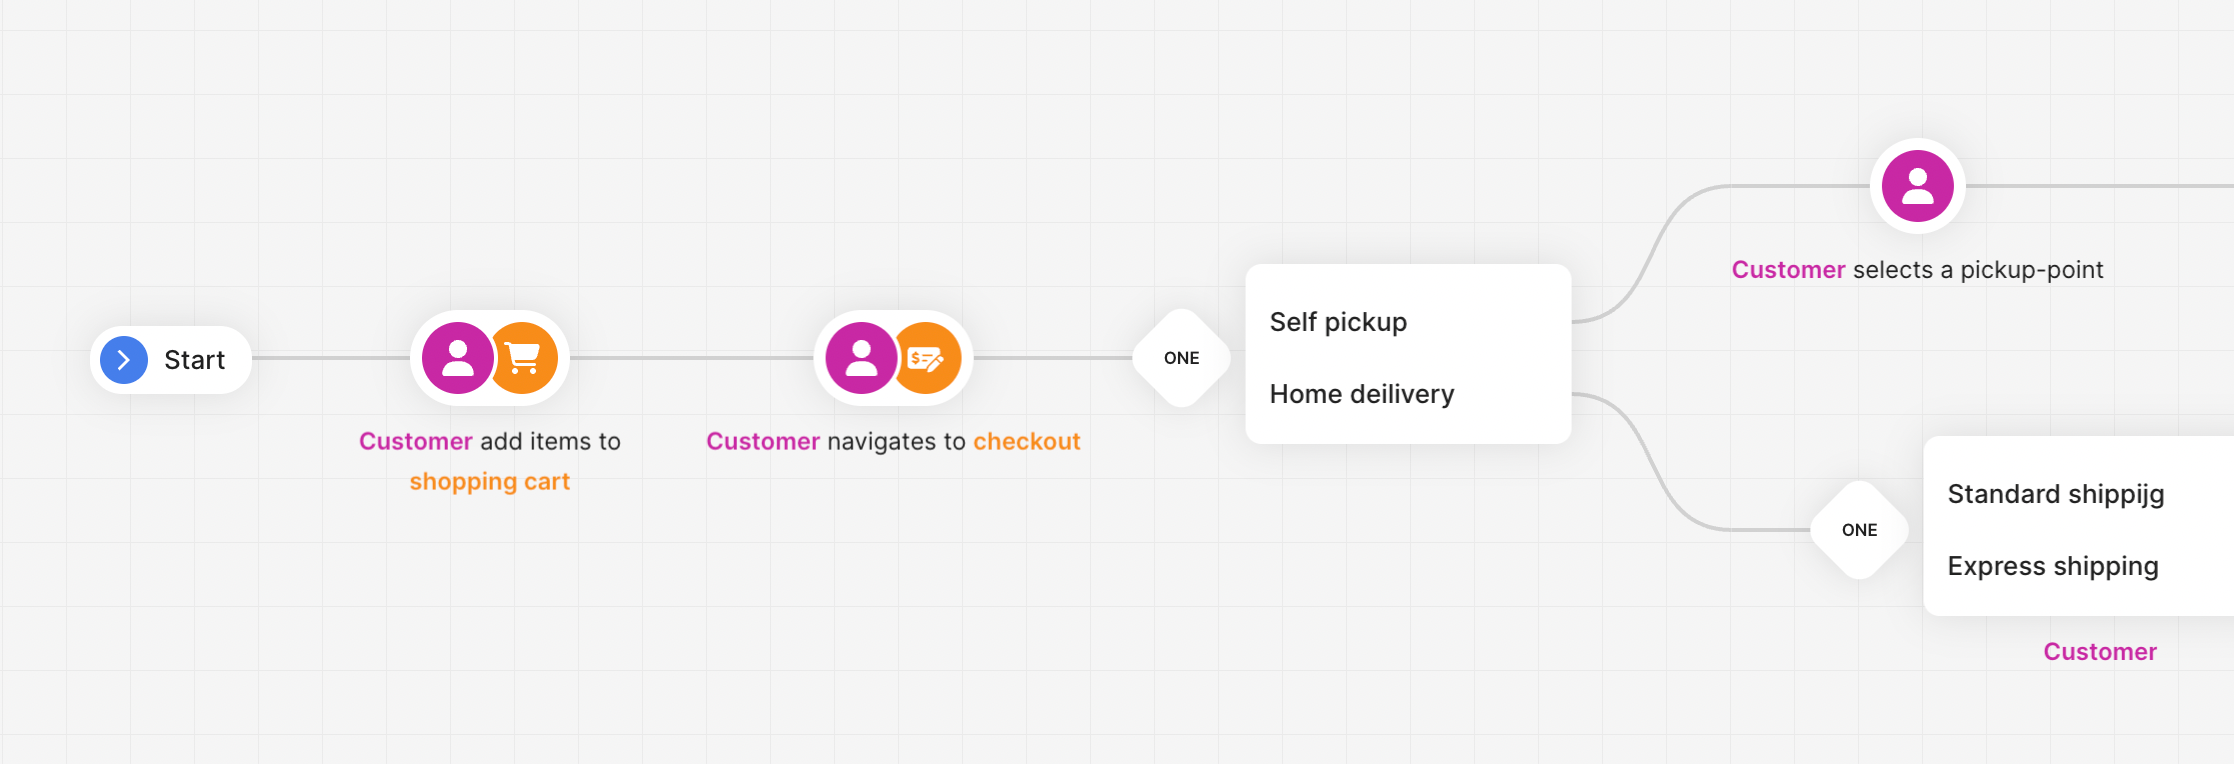
Step 5 - Share with involved people
After mapping your process, share it with your co-workers. Their understanding of the process map will be a good test of its clarity. They may spot issues or suggest additional steps that you hadn't considered. Be open to their feedback, a fresh set of eyes can be invaluable.
Remember, the goal of sharing the process map with your team is not just to inform them but to engage them. Their input is invaluable, providing a perspectives that can significantly enhance the quality of your process map. Encourage open dialogue and be ready to make adjustments based on their feedback.
Additional activities
Describe actors
For each actor in your process, describe their role and actions in detail. This helps avoid misunderstandings later on. Everyone involved should be able to look at the process map and know exactly what's expected of them and others.
Highlight issues and risks
Some steps in your process will be riskier than others. Highlight these areas and assign someone to monitor and manage them. Make a note of any potential solutions or action plans, along with any deadlines.
Comments
ShiftX allows you to add comments to each step. Decide how you want to use this feature. Will you keep comments to capture the history of changes, or will you delete them to keep the map clean? Set rules so everyone knows how to use comments effectively.
Content
A process map isn't just a diagram; it can be a repository of knowledge. Link to relevant documents, policies, or regulations directly in your map. Use dynamic links for documents that get updated regularly, so your process map always reflects the most current information.
References
Some parts of your process may be complex enough to be an own sub-processes. Separate these from your main map to avoid clutter. Make sure these sub-processes have an owner who is responsible for keeping them updated.
Add duration and probability
Incorporate realistic timeframes into your process map. This helps set expectations for how long each step should take and allows for more accurate planning and scheduling.
Define interaction channels
Clearly describe how actors in each step interact with each other. Who hands off information to whom? How do different departments communicate within the step? Understanding and defining these interaction points is crucial for a smooth process.
Review
Periodically review your process map to ensure it remains clear and relevant. Look for missing steps, bottlenecks, or any new risks that may have arisen. Regular reviews help keep your process map a living document that evolves with your organization.
By following these steps and using ShiftX, you'll create not just a process map, but a dynamic process mapping tool that will help streamline your workflows, clarify roles and responsibilities, and improve overall efficiency in your organization.

